
Remember the adorable T-Shirt Bracelet I Posted?! AND how I told you to go grab a pair of scissors and that old T-shirt in your closet under a big bundle of who knows what!? If you don't it's right here!
I took my own advise yesterday and let me tell ya I am sure glad I did! I am now the maker and owner of a super cute in style bracelet for FREE! woop woop! You can have one too (blogging buddie friendship bracelets? I think so!) It is easy peasy lemon squeezy!
I found this link through Pinterest which lead me to a tutorial on how to make Jersey T-Shirt Necklaces (okay I lied about the bracelets actually being a necklace but I didn't really know that until I looked it up) For me the necklace just isn't my style (big necklaces just are not a flattering look for me) so I decided to make my version a bracelet (like i originally thought it was anyway). Ooh and Guess what?! I am gonna tell you how I did it step by step with pictures! *football stadium crowd roar*
T-Shirt Bracelet
What Ya Need: An old T-shirt, scissors, classic sewing thread, and a needle


Step One: Fold shirt in half and cut off the bottom rim. Then cut three strips about 1 1/2 - 2 inches wide starting from the bottom of the shirt.

Step Two: Unfold your three strips and cut the ends. (where the side semi is) This way you will now have six separate strips.

Step Three: Stretch each strip out a few times to where it naturally starts to curl.

Step Four: Divided your strips into two groups of three

(I have three groups in my picture but you ONLY need two. If you wish for a thicker bracelet then you can add a third)
Step Five: Sew together the top of the strips of the first group. This way you don't have to tie a knot and worry about them coming undone.

Step Six: find something secure to hold the sewn end of your first group of strips. (I just used my teeth but im sure safety pinning it to something with work just great too!
Step Seven: Braid! Braid the three strips together. Try to keep the braid tight and flowing flat. I would stop occasionally and measure what I had braided around my wrist that way I knew it would fit just right!
REMEMBER you will be doubling/twisting your braid to where it looks like two bracelets in one. You don't want it to be two short and you not be able to fit your bracelet over your hand. (I might know this from experience...haha)
Step Eight: once you are done braiding your strips and have it at the right length sew both ends together. You will then have a braided "ring"

REPEAT steps five through eight with your second group of T-Shirt strips

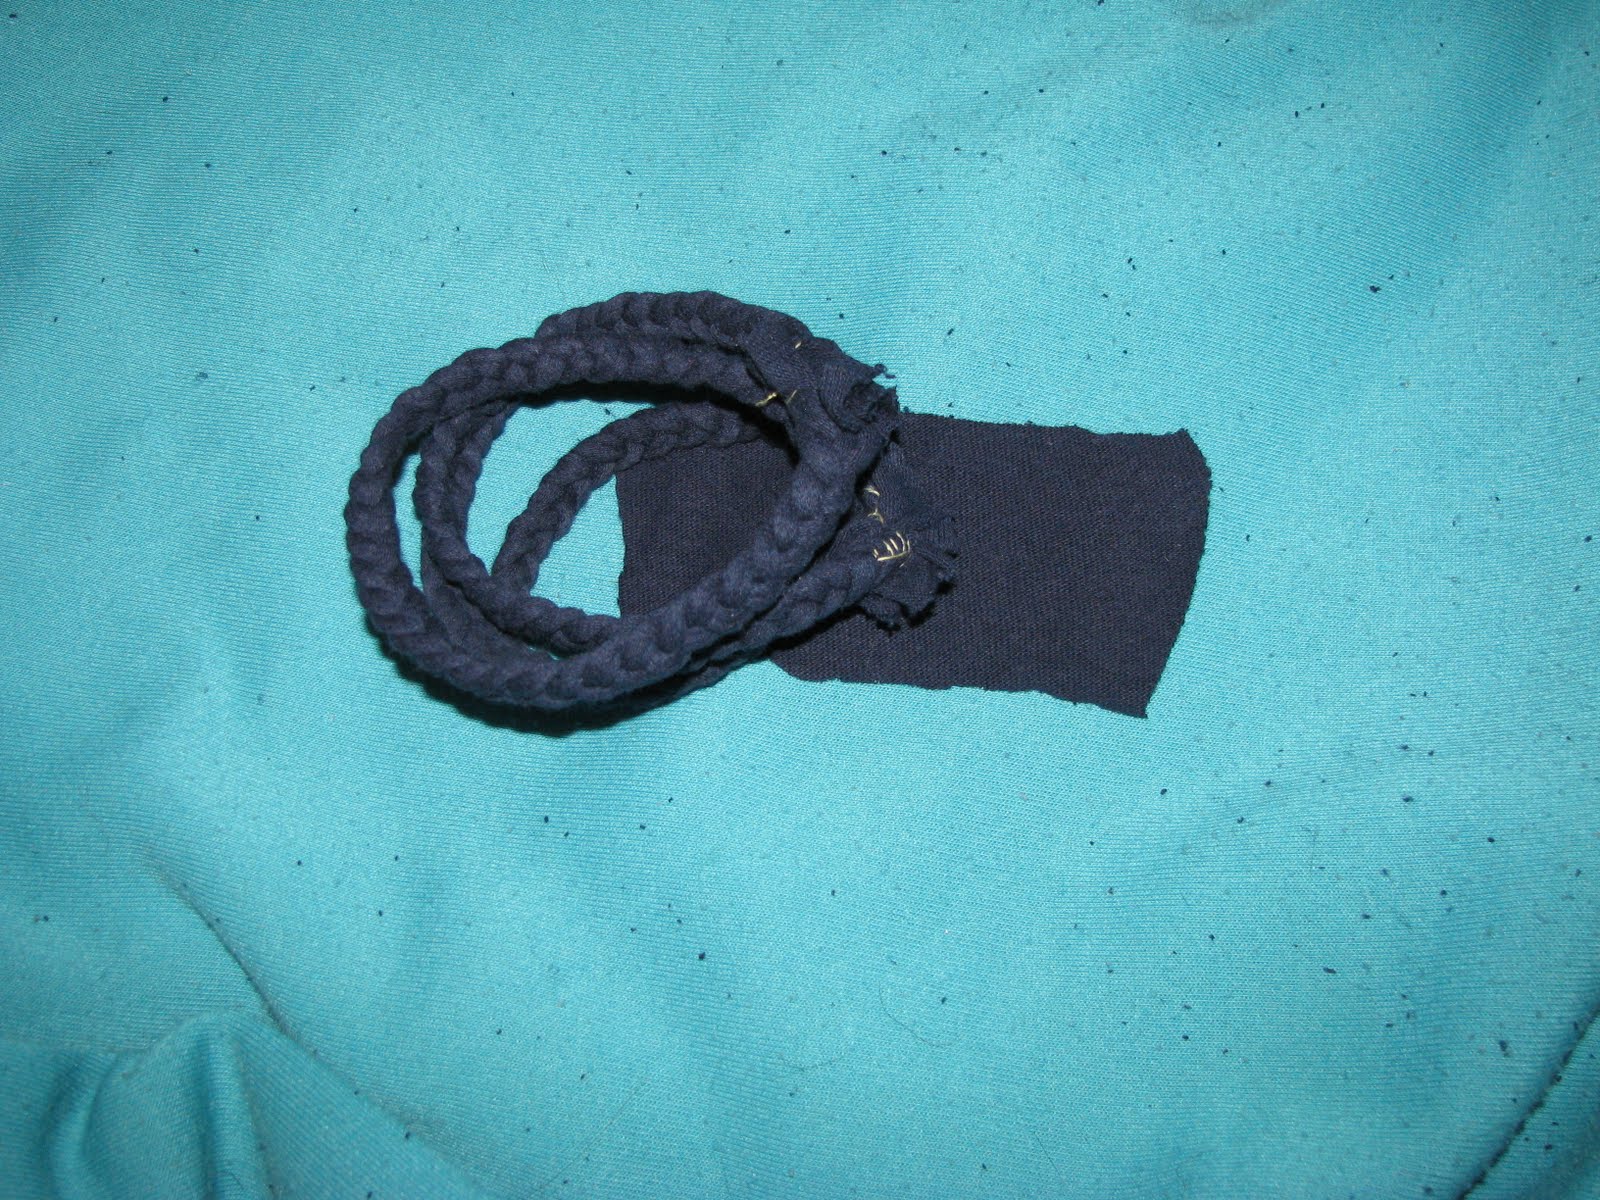
Step Nine: twist each ring in half and set aside. Then cut a small rectangle, from any part of your remaining T-shirt, that is wide enough to hide your sewn ends.

Step Ten: stack your two braided rings on top of each other and place half way on to the rectangle. Fold the rectangle over the tied ends of the rings.


Step Eleven: sew the rectangle together as close as you can to the bracelet

Step Twelve: trip the extra off of your rectangle and turn the sewn end toward the inside of bracelet.

TADA!!


There you have it! Don't you just love it?!
Now go tell everyone to come on over here so they can learn how to make their own!
(If you make your own don't forget to tell me and send me a picture!)
Hope you enjoy amigos!
Kaitlin Jean
3 comments:
Way to go girl!! I saw it on Pinterest too and thought I wanted to try it but it'll probably get shoved back on my to-do list haha good job!
I love this! Saw it on Pinterest and wanted to try. So reassuring to see that you had success with it! Thanks for sharing! XO
That is such a cute idea!! I love Pinterest!
P.S I am your newest follower and love your blog!!
xxx :)
Post a Comment